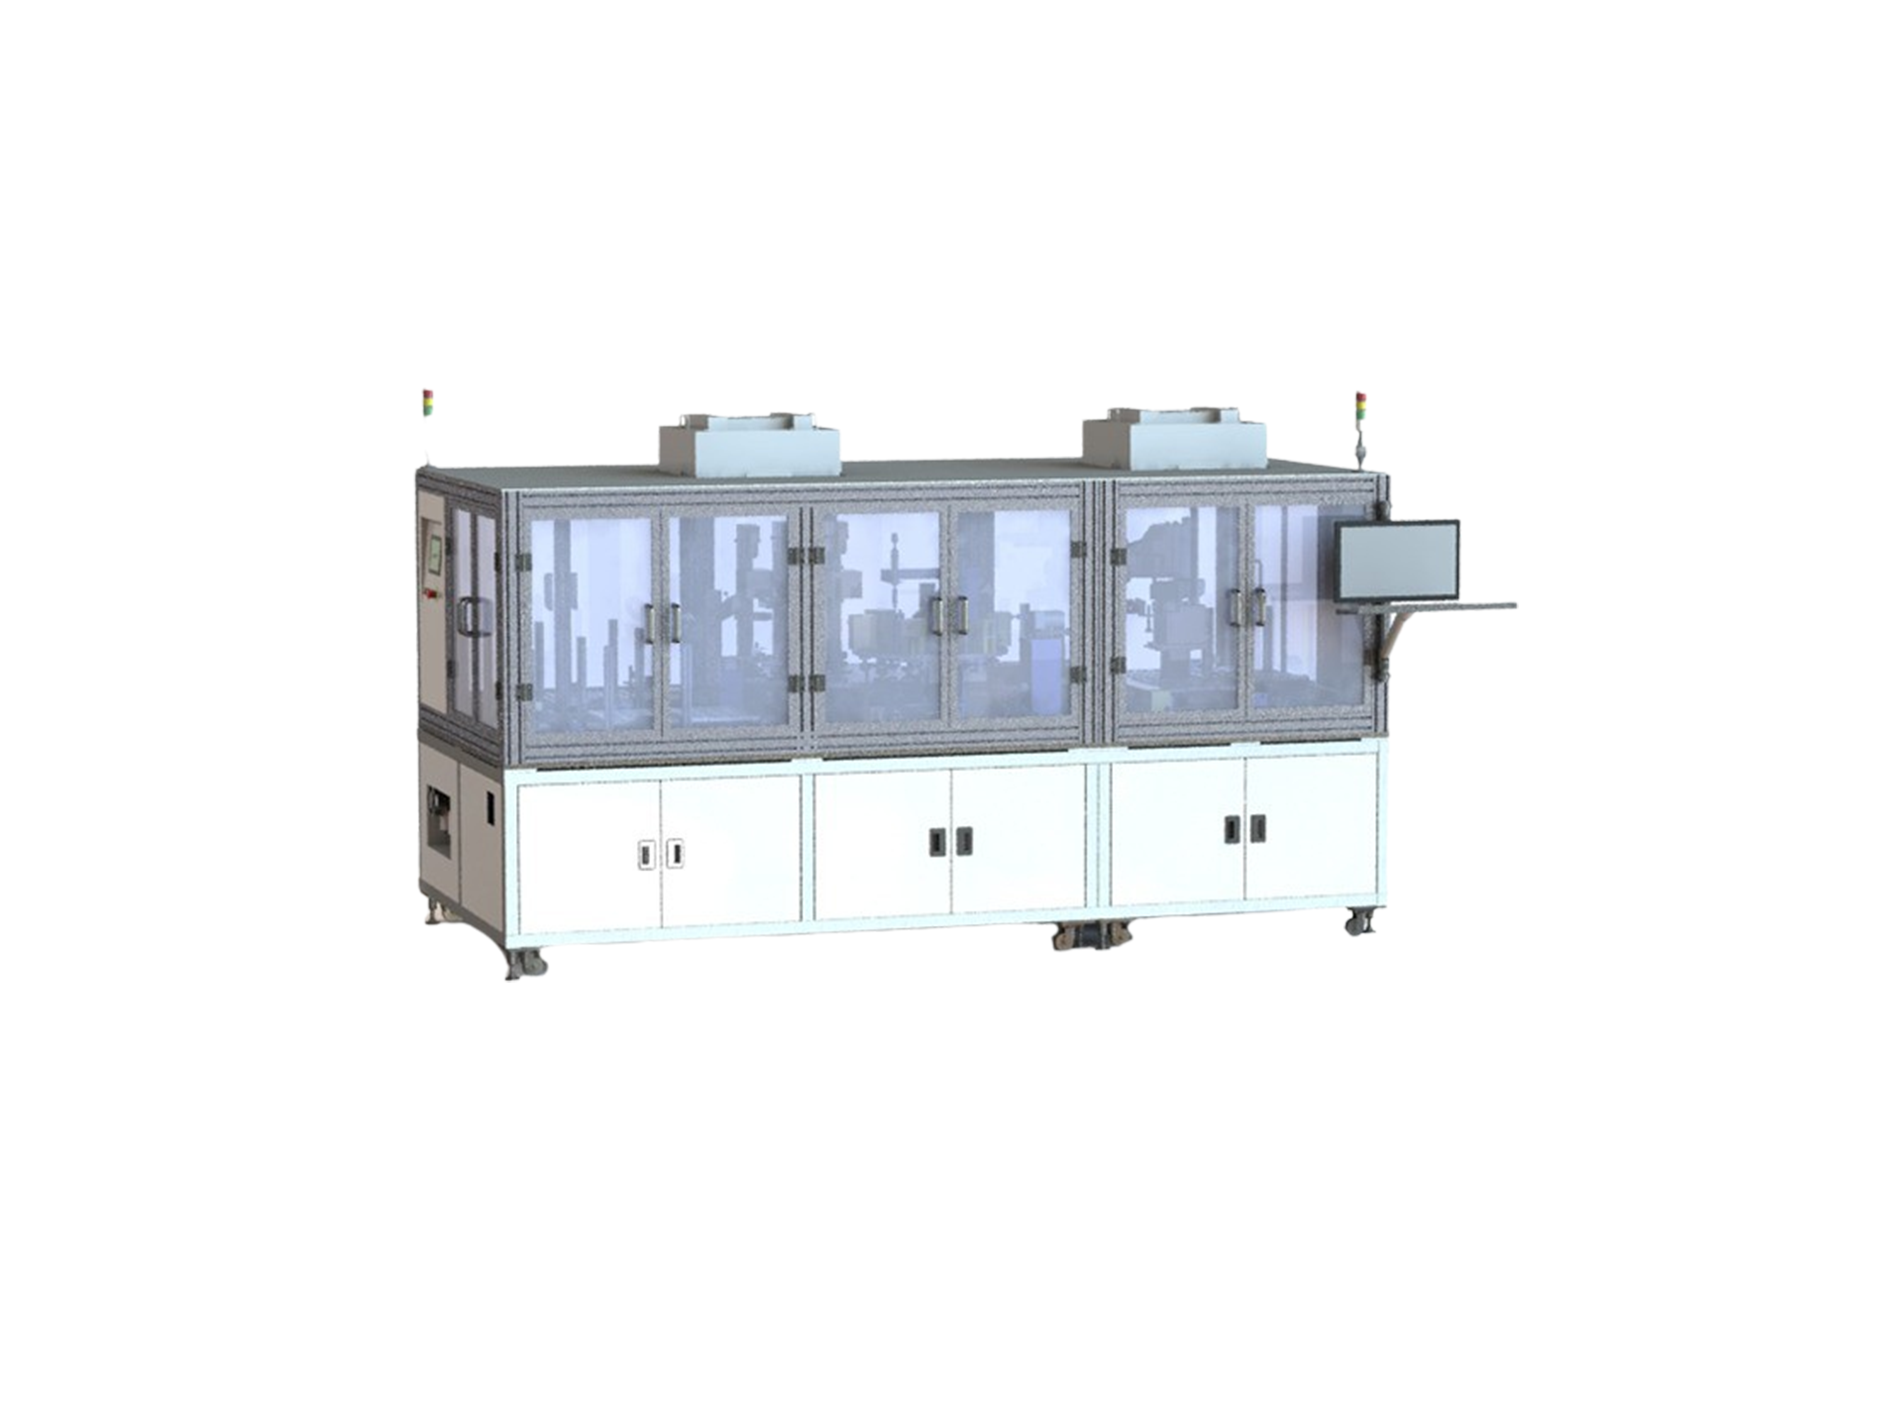
Wireless Charger Rear Cover Inspection and Assembly

Solution brief

The solution is based on the Dihuge TimesAI deep learning development platform, which integrates CV+AI+Automation to achieve online real-time inspection of the 

back cover of the wireless charger, integrated services such as defective product classification, screening and rejection, data analysis and statistics, and can be iteratively 

optimised in the inspection process.


The solution effectively solves the three major difficulties in the field: 1, the probability of occurrence of different types of defects gap is large, the defect sample is not 

balanced. 2, the defects are tiny target defects. 3, the semantic hierarchy of defect types.    


At present, it covers dozens of defect types, such as: top R angle pressure wound, scratch, hole deformation, hole pressure wound, inner bottom surface scratch, inner 

step surface pressure wound, outer side wall deformation, outer side wall sanding mark, outer side wall knife pattern, outer side wall scratch, outer side wall collapsed 

edge, outer bottom pit, outer bottom knife pattern, outer bottom collapsed edge, inner knife pattern, top R angle is not fully turned, hole burr, outer bottom pit, bad 

teeth, shallow teeth, light holes, incomplete cutting Roughness on the reverse side, knocking on the reverse side, burnt inside the hole, bruising on the outer circle, 

foreign objects in the hole, etc.


Solution function

AI vision-based wireless charger back cover inspection/assembly solution can achieve online real-time detection of defects on precision CNC machined parts, defective product classification, screening and rejection, data analysis and statistics, one-stop service, the system has excellent performance indicators and can be continuously iterated and upgraded, which can be achieved as a substitute for and better than the manpower to improve the yield rate, reduce staff and increase efficiency.

Bright spot

The programme effectively solves the three major difficulties in the field of defect detection (defect sample imbalance, defects for small targets, defect types with different semantic hierarchies), and can achieve online real-time detection of defects on precision CNC machined parts, defects classification screening and elimination, one-stop data analysis and statistics, the system has excellent performance indicators and can be continuously iterated and upgraded, which can be achieved as a substitute for and better than the manual work to improve yields, and reduce manpower and increase efficiency. Reduce staff and increase efficiency.
  • High-speed, accurate, 360° inspection
  • Precise positioning, sorting and loading

Application scenario

Product case

The inspection system for mobile phone and computer precision parts (CNC) of the top three companies in the global industry is developed based on a standardised software architecture, which reduces the project on-line cycle time and adapts to various line structures and sorting logics of users. Types of defects detected: top R corner pressure wound, scratches, hole deformation, hole pressure wound, internal bottom surface scratches, internal step surface pressure wound, outer wall deformation, external wall sanding marks, external wall knife lines, external wall scratches, external wall collapse, external bottom pits, external bottom knife lines, external bottom collapse, internal knife lines, the top R corner of the car is not full, hole burrs, external bottom pits, bad teeth, shallow teeth, light holes, incomplete cutting, reverse surface roughness, reverse side Knock, burnt inside the hole, outer round bruise, hole foreign matter. Defect detection performance indicators: leakage rate <0.5%, overkill rate <5%.
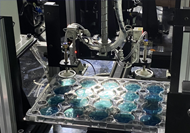
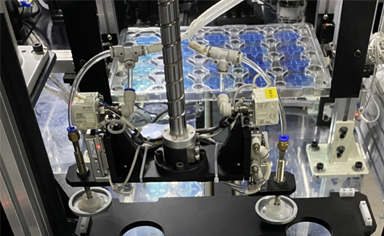
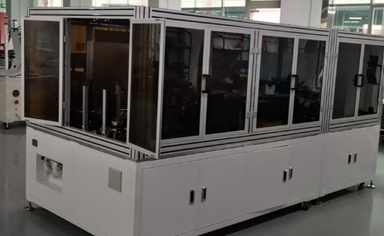
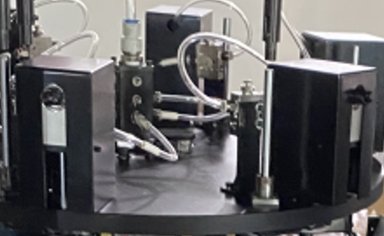
  • Wireless charger back cover testing implementation site

  • Wireless charger back cover testing implementation site

  • Wireless charger back cover testing implementation site